


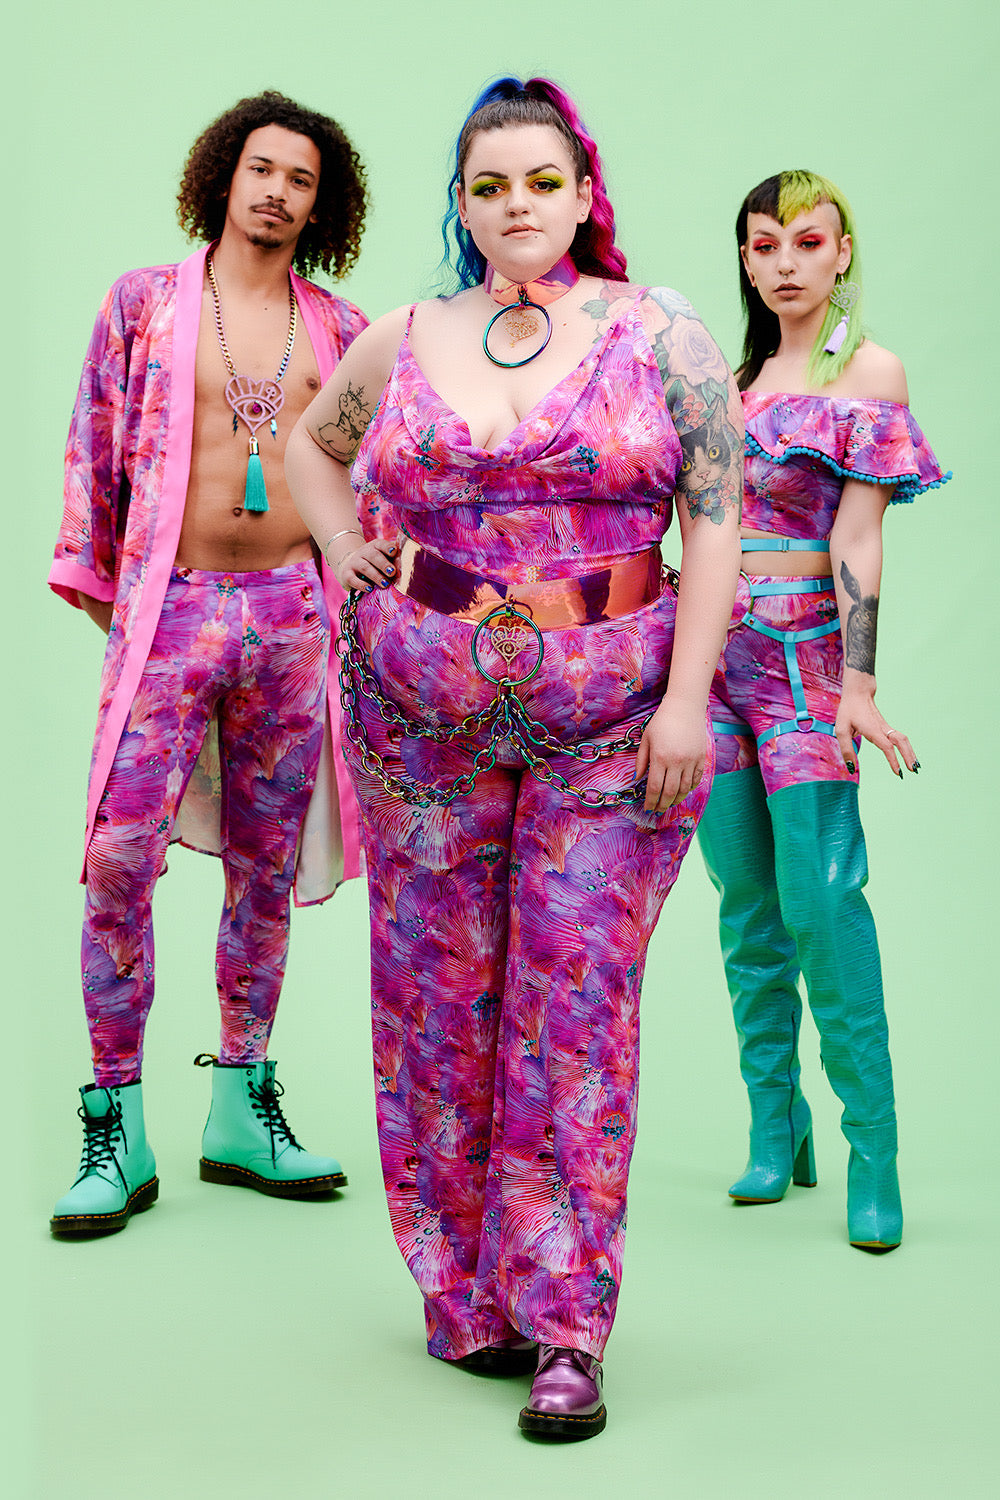


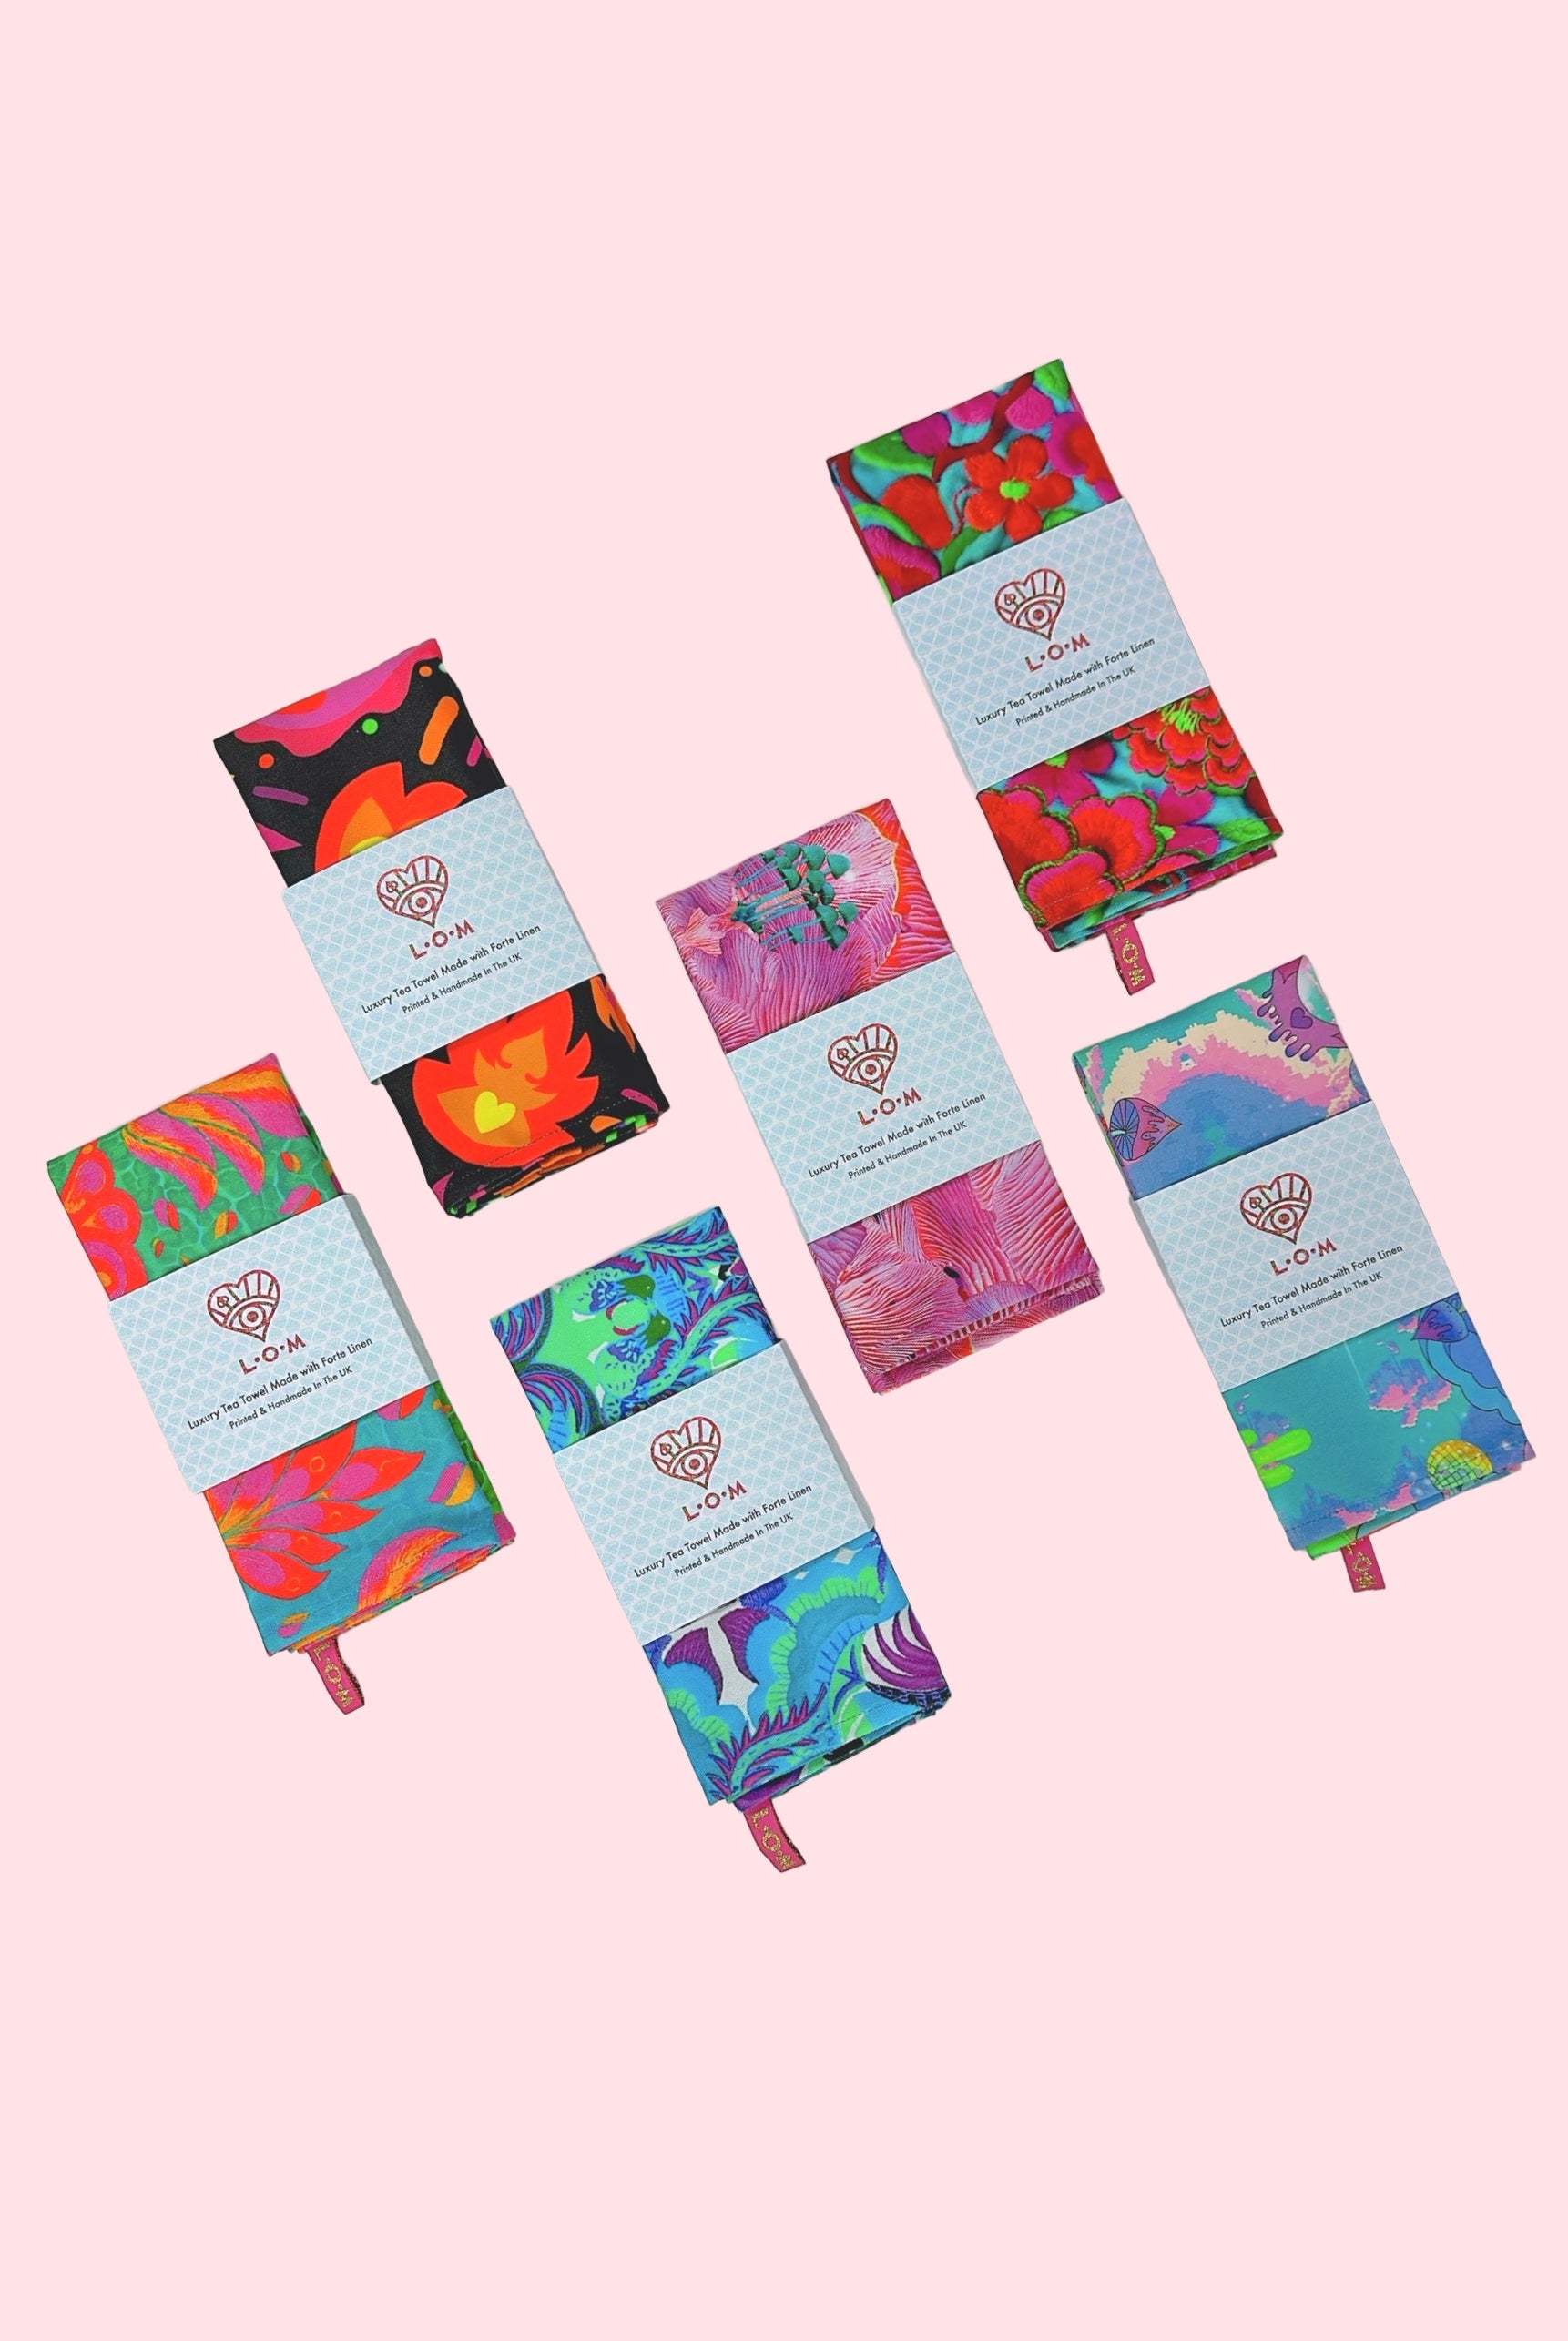
The L.O.M Printed masks we are still selling on the website, and they are being made by one member of my team who lives with someone high risk, and can only work from home to enable her to continue working during this period. There is a limited amount available and there is currently a two week wait.
This tutorial will also allow a small gap in the side so that you can insert your own filter if you need to.
The larger edge is for adult and smaller one for child. The wide line is what you cut out, the thin line is where you will cut the lining to.
You will need:
PDF Print out of the pattern (two sizes on one sheet, the inner line is for child 7-12) - available here
Scissors
Iron
Elastic - 28 inches (average) for around the head, 9 Inches x 2 for ear loops (you may want to customise these lengths for your own comfort) Ideally 6 millimetres wide (or smaller) so that it will fit in the channels.
Outer fabric - preferably tightly woven
Lining fabric - preferably breathable cotton
Not much fabric is needed for these, but obviously fabric shops are closed at the moment, if you don't have any scraps around you could cut up an item of clothing or pillowcase. Wash your fabric first, this will stop it from shrinking when you wash it once the mask is made. And if you don't have any elastic - maybe use some from an old bra, or detachable bra strap? (I haven't tried this, just a suggestion in these crazy times!)
Fabric tips : Tightly woven fabric? It is where the threads of the fabric are very close together, meaning minimal gaps between the fibres - this will give you a bit more protection. An example of tightly woven fabric would be the materials commonly used in shirts. A loosely woven fabric example would be tea towel.
Step one
Print out PDF pattern, check that the scale hasn't been altered in your print out. This pattern includes a 1cm seam allowance.
Cut out full size in your outer fabric (cut two opposite pieces), and fold along thin line of pattern to cut a smaller lining fabric.

Step Two
Stitch along the front seams, and iron these seams open. You can also snip into them along the curve, to stop bumping happening under the fabric, being careful not to get too close to your stitching. (shown in the video)

Step Three
Fold back one side of the lining about 1cm, and top stitch it - this is to make the gap for the filter to go in if you want one.

Step Four
With right sides facing - Stitch along the top and bottom seams, leaving the sides open, snip along the curved edges, again careful not to get too close to the stitching.

Step Five
Turn inside out and press the top and bottom seams. This is a bit fiddly to do, it is made easier if you have a tailors ham, but it is still possible without.

When you get to the edges, continue the natural fold they have and iron it flat
Step Six
Fold each edge over by about half a centimetre, iron, then again by another centimetre, iron.

Step Seven
Stitch the elastic together, overlapping the ends by about 1cm. Its good to do this with a zig zag stitch if you can.
Step Eight
Taking the end of the elastic you just stitched, place it inside one of the folds that you created at the side of the mask. Top stitch this side down, making sure that you do not stitch the elastic, you have made a channel for the elastic to freely move inside.
If you are keeping a hole in one side for a filter, then you line up your fold with the edge of the lining so that you can still access the gap.

Repeat on the other side with the other side of the elastic, or the other ear loop, and you have made your mask!


Comments
Thank you so much for this. I found them fairly easy to make! Video helped 💚
Wow. Thank you. So kind. Your business looks fab! I really hope you can thrive after this Corona nonsense, you clearly have a lot of talent. Stay safe and well. We’ll all need your colourful gorgeous designs when this is over.
Brilliant thank you so much will get onto my machine as soon as I can get off my Skype call for work. Looks pretty simple to me. Love the photo style step by step explanation. Can’t wait to make these for my family x
Thank you so much for the pattern – l am busy sewing for family and friends as we speak! Stay safe x